Mobile Recording
Follow these steps for creating audio content for your course.
What to Use
We ask that you use a mobile device or tablet for recording audio. This will allow for you to easily record audio and save it to your computer for further editing. For demonstration purposes, we will be using an iPhone and the included Voice Memo app. However, if you have something else, there are many apps available, both free and paid, in the app stores. We ask that you use an app that has some sort of audio meter so that you have a visual indicator to make sure that you don’t cause clipping in your audio files.
How to Use
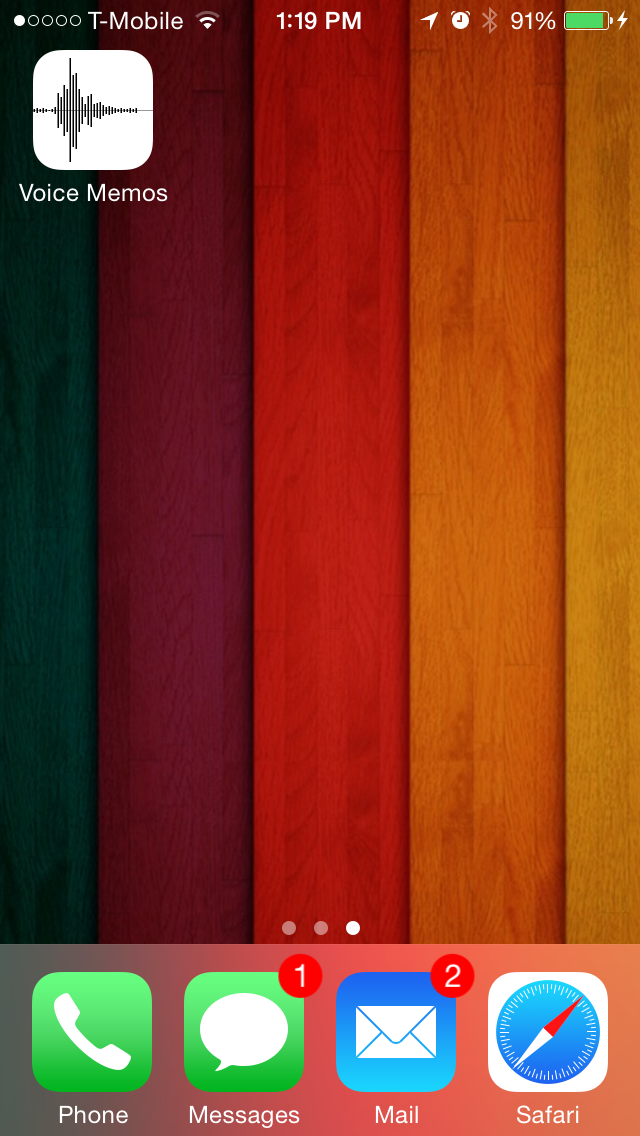 Step 1: Open the Voice Memos app.
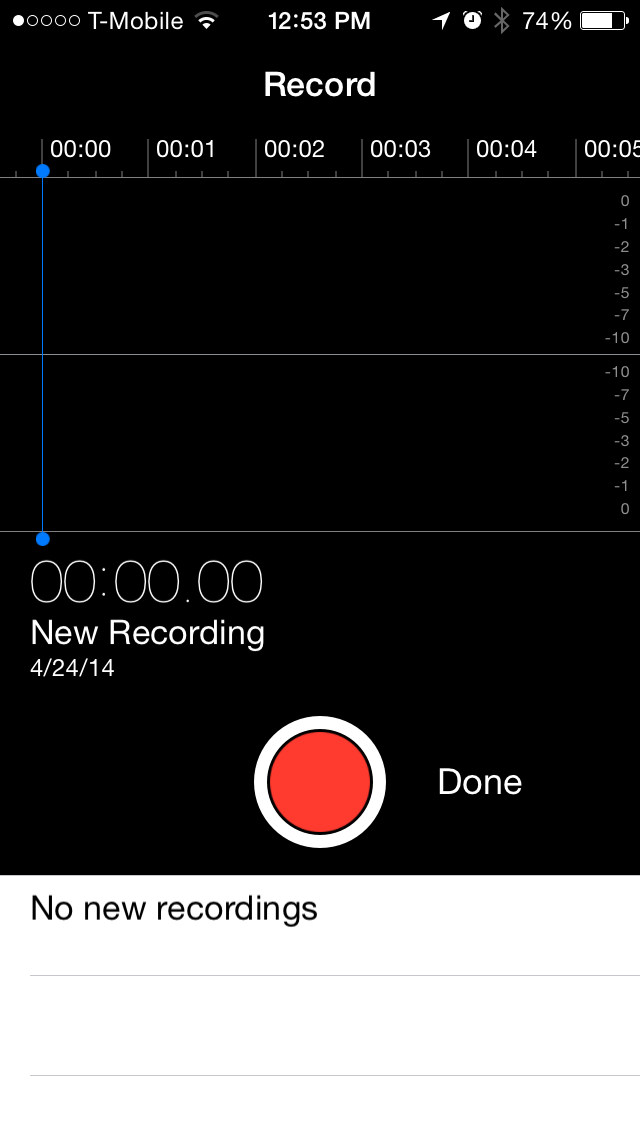 Step 2: Hit record and start recording your voice.
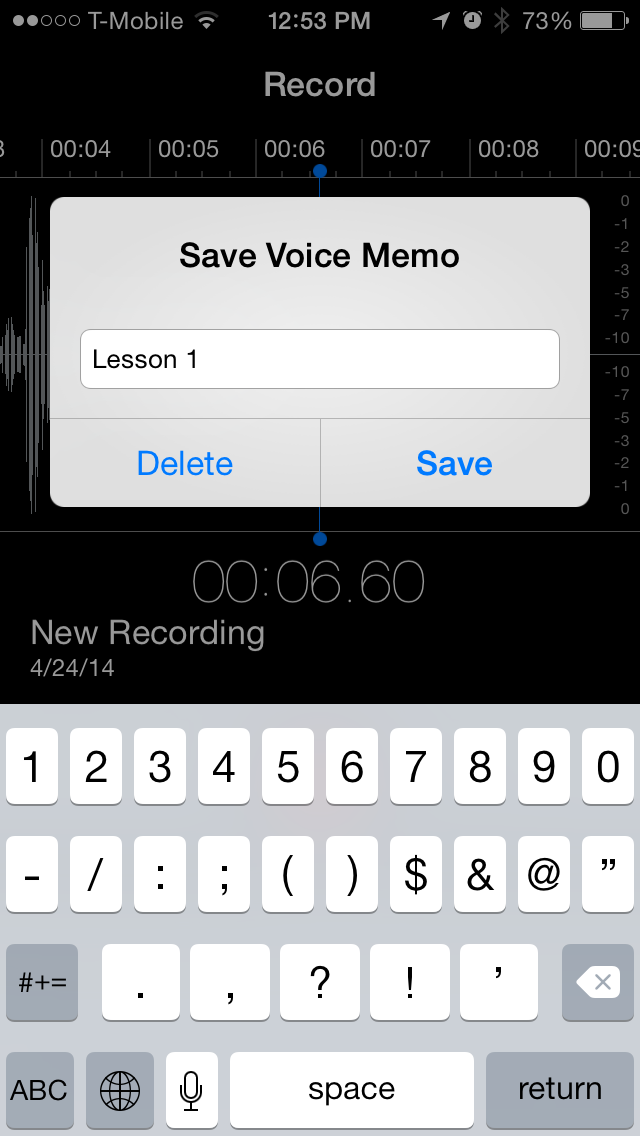 Step 3: When done, hit the record button again and then hit done. This will prompt you to name your saved audio file. After you have named it, hit save.
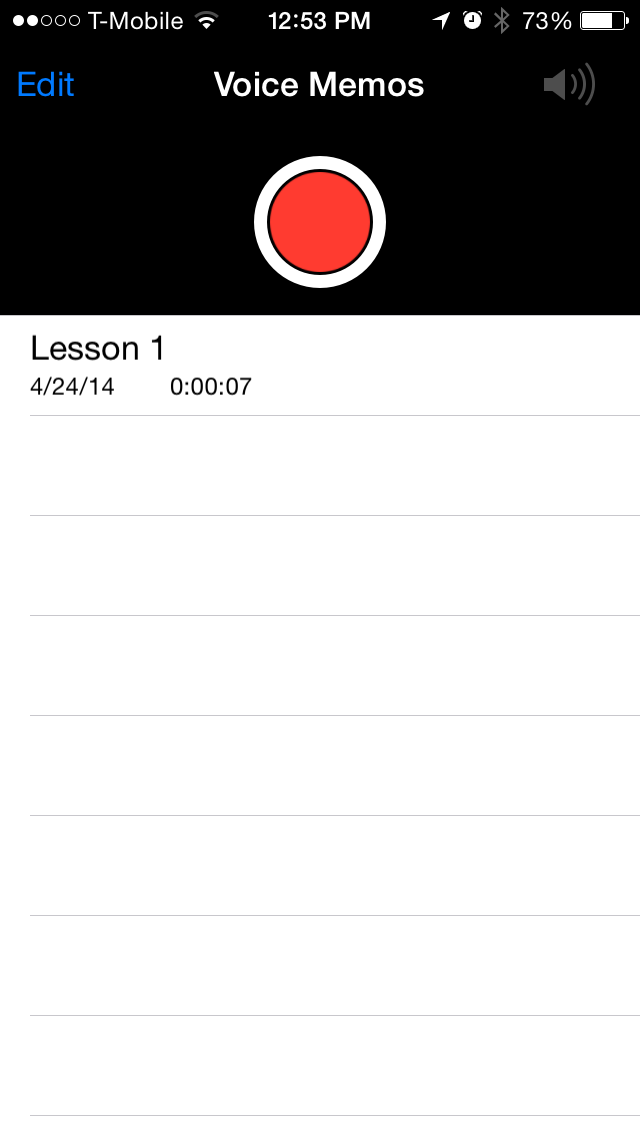 Step 4: Your screen should now look similar
to this. Tap on the file you’d like to send.
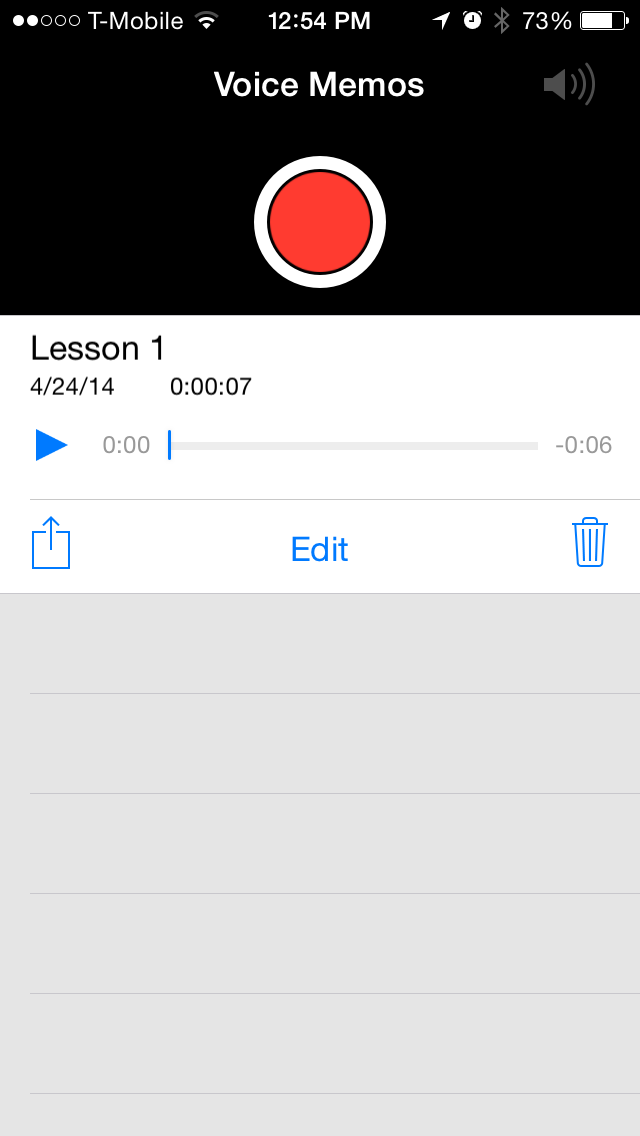 Step 5: The controls to listen, export, edit, and delete will appear. Select the export button, which is the square with the up arrow.
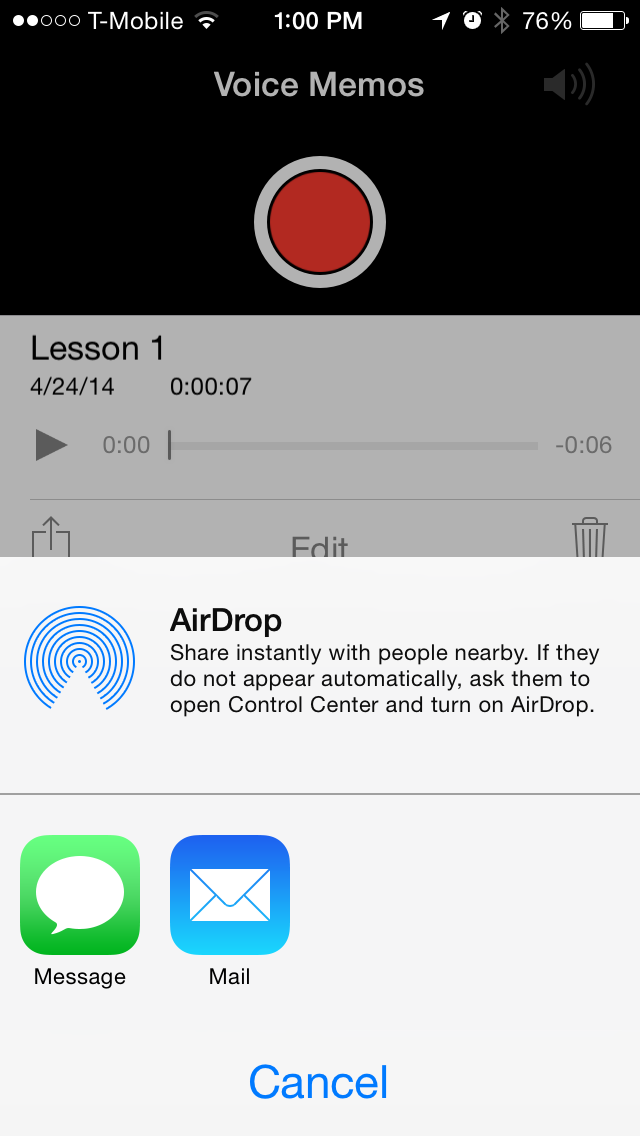 Step 6: From here you will see an option to email the file using the Mail app. Email the file to yourself.
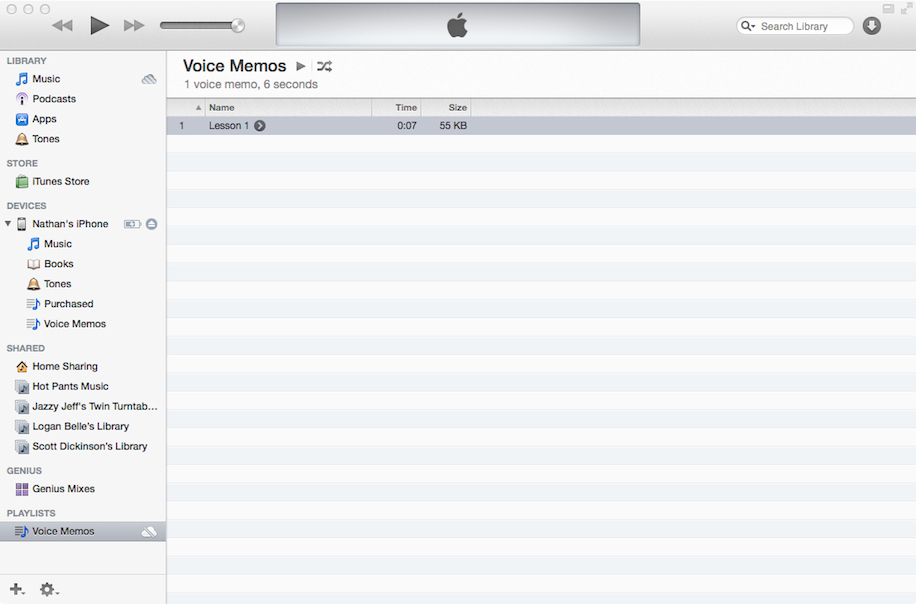
If for some reason the file is too large to email yourself, hook up your device to your computer and sync it with iTunes. Once your device is synced, you will see a new playlist under your PLAYLISTS section called “Voice Memos”. You can go to that list and drag the file you want from iTunes to your desktop.